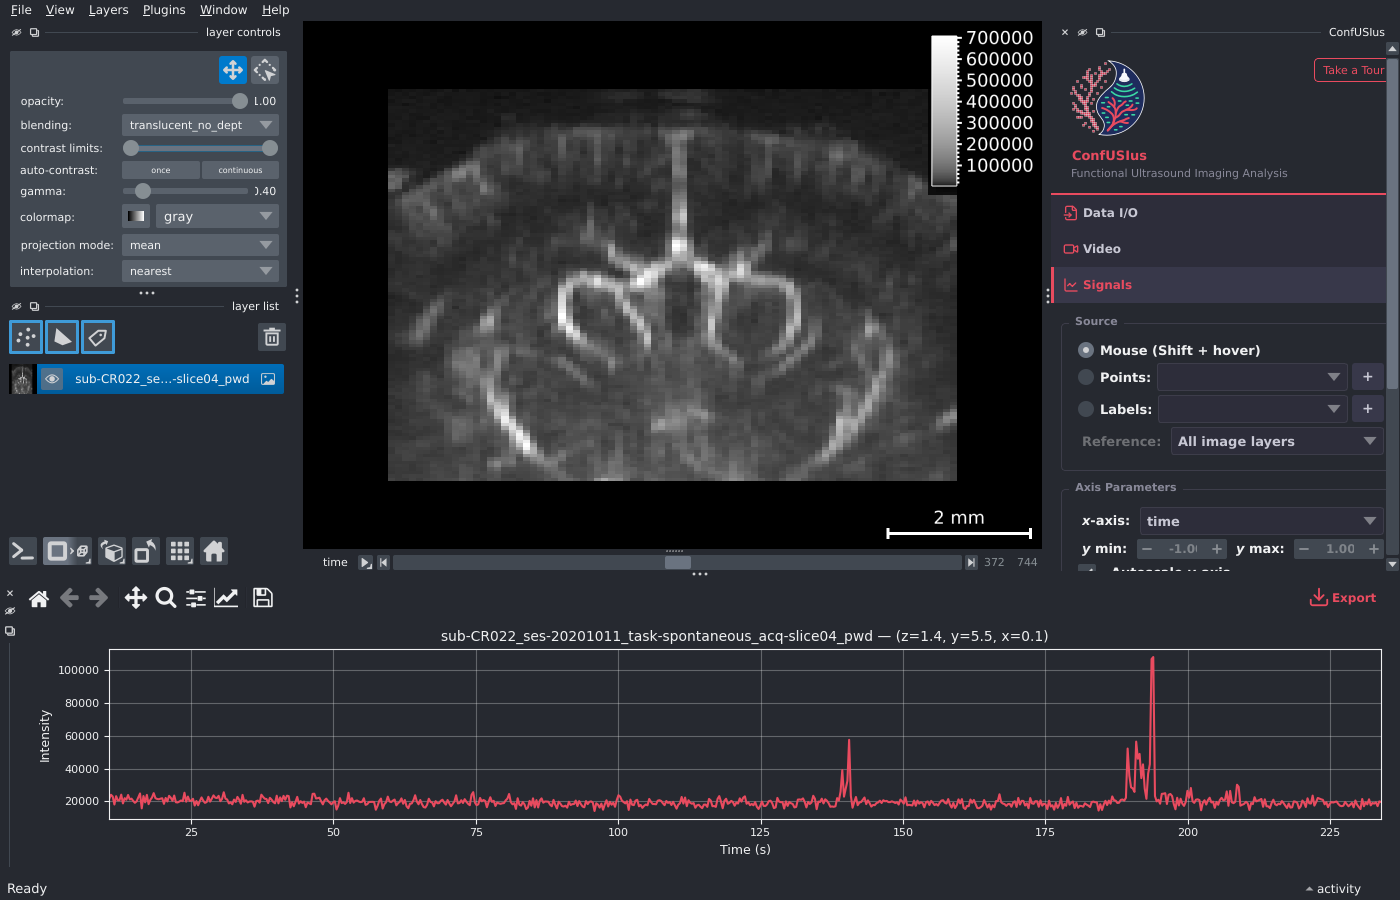
ConfUSIus Graphical Interface
ConfUSIus ships a napari plugin that provides an interactive graphical interface for fUSI data exploration, signals inspection, and quality control—no scripting required.
New to napari?
This guide only covers ConfUSIus-specific features. If you are new to napari, the official napari tutorials are a great starting point for learning the viewer, layer system, and annotation tools. napari also has a rich plugin hub with plugins for loading videos, multimodal recordings, and much more—all of which can be used alongside ConfUSIus.
Launching the Plugin
The confusius command is available in any Python environment where ConfUSIus is
installed—see the Installation guide for details.
Alternatively, uvx can fetch and run
ConfUSIus without a prior install step.
There are two ways to start the plugin:
The widget contains three collapsible panels—Data I/O, Signals, and QC—that can each be expanded or collapsed independently. If you want a quick walkthrough inside napari itself, click Take a Tour in the upper-right corner of the sidebar header.
Running napari programmatically
If you prefer to open napari from a Python script or Jupyter notebook, see the
Visualization
guide, which covers plot_napari and related
functions.
Opening Data
Recommended: Data Panel and CLI
The recommended way to open files is through the Data Panel or
by passing one or multiple paths to the confusius command on launch:
Both routes use confusius.load() under the hood, which produces a
fully-labeled DataArray with named dimensions, physical coordinates, and all file
metadata preserved. The DataArray is attached to the layer and used automatically by the
Signals and QC panels. By default the full array is loaded into memory for
responsive time scrubbing. For files that don't fit in RAM, lazy loading keeps the array
Dask-backed—the layer appears instantly and slices are read from disk on demand. Enable
it via the Load lazily checkbox in the Data Panel, or with the --lazy flag on the
CLI:
Alternative: napari file readers
ConfUSIus also registers native napari file readers for NIfTI, Iconeus SCAN, and Zarr files. These let you open files by dragging them onto the canvas or using File > Open (Ctrl+O) without switching to the Data Panel.
Axis labels are not propagated to the viewer
Due to a current napari limitation, files opened through the native readers have
axis labels stored on the layer but not propagated to viewer.dims.axis_labels.
This means dimension names will not appear in the napari status bar. Use the Data
Panel or the confusius command instead to get correct axis labels everywhere.
Saving Data
Recommended: Data I/O Panel
The Data I/O Panel save section lets you export any layer to NIfTI or Zarr. Select the layer, optionally pick a template layer to borrow physical coordinates from, enter an output path, and click Save.
Alternative: napari file writers
ConfUSIus also registers native napari writers for NIfTI and Zarr files. These let you save any image or labels layer via File → Save Selected Layer (Ctrl+S) without switching to the Data I/O Panel. Note that the native writer only supports saving the raw array data, so physical coordinates and metadata will not be preserved if they're not already present on the layer.
Next Steps
- Using the Plugin: a walkthrough of each panel, including loading and saving.
- Visualization: programmatic napari and Matplotlib plotting from Python.
- Quality Control: background and interpretation of the QC metrics computed by the plugin.
- napari tutorials: official guides covering the viewer, layer system, and annotation tools.
- napari hub: community plugins for loading additional data types and extending the viewer.